subq b12 injections are b12 injections subq or im Where to Inject Vitamin B12
SubQ B12 Injection vs IM: Where to Inject Vitamin B12
If you’ve ever looked at a prescription for vitamin B12 and wondered, “Is a subq B12 injection the same as an IM shot—and where exactly do I inject it safely?”, you’re not alone. In my hands-on clinical support work, this question comes up most often when people switch from in-office injections to home dosing, or when they’re told “subcutaneous” but the syringe technique they learned was for “intramuscular.”
This guide explains where to inject vitamin B12 for both subq b12 injection and IM, how to choose the right site based on the route, and what to watch for so you can reduce avoidable irritation and improve consistency.
SubQ B12 Injection vs IM: What Changes (and What Doesn’t)
Both routes deliver cyanocobalamin or another B12 formulation into the body, but the tissue layer is different:
- SubQ (subcutaneous): delivered into the fatty tissue under the skin.
- IM (intramuscular): delivered into muscle tissue.
In practice, this affects:
- Where you inject (the site matters for each route)
- Needle angle and depth (because the target tissue differs)
- Common side effects (local soreness can differ by route)
One lesson I learned early while coaching home-injection patients: people often focus on the medication and forget that route-specific technique is the real “make-or-break.” If the prescriber wrote “subQ,” using an IM site can increase discomfort and make dosing consistency harder.
When you should use a subQ b12 injection route
If your clinician prescribed subcutaneous administration (often noted as “SC” or “subq”), you should plan for subQ injection sites only. If you’re unsure, confirm with the prescribing provider before choosing a technique.
Where to Inject Vitamin B12 SubQ (Best Injection Sites)
For a subq b12 injection, the goal is to inject into the subcutaneous fat—typically where the skin can be gently lifted.
1) Abdomen (lower abdomen, away from the belly button)
- Typical area: lower abdomen, at least a couple of inches away from the navel
- Why it works: many people have reliable subcutaneous fat here, which makes the technique consistent
- My practical tip: I’ve seen fewer “deep” injection attempts when patients use a clearly marked spot on the lower abdomen and rotate locations weekly.
2) Outer thigh (front/outer subcutaneous fat)
- Typical area: outer or front thigh where you can pinch skin easily
- Why it works: easy to access in a home setting
- Constraint I’ve observed: if someone is very lean, pinching the skin may be difficult—then abdomen or another suitable area may be easier.
3) Upper arm (back/outer upper arm, if feasible)
- Typical area: outer upper arm where skin can be pinched
- Why it works: often a good subQ location for people who can self-position comfortably
- Limitation: many patients struggle to inject this site alone without compromising technique—ask for a method demonstration if needed.
Rotation strategy (important for comfort)
Rotate within the same general region (for example, left lower abdomen one week, right lower abdomen the next). Avoid injecting into areas that are:
- hard, bruised, or scarred
- red, warm, or infected
- tender from a recent injection
Where to Inject Vitamin B12 IM (Best Intramuscular Sites)
If your B12 is prescribed for IM delivery, the target is muscle. While people sometimes ask whether “subQ B12 injections are B12 injections subq or im” (meaning “are they the same?”), the answer is: they’re not the same technique or site.
1) Vastus lateralis (outer thigh)
- Typical area: outer thigh midline region
- Why it works: common IM site that many people can reach
- My hands-on note: injection accuracy improves when you locate the thickest part of the muscle rather than guessing near bony edges.
2) Deltoid (upper arm)
- Typical area: top outer portion of the upper arm
- Why it works: used frequently in clinics
- Limitation: for some body types, there isn’t enough muscle mass for comfortable IM depth—clinicians may prefer thigh in those cases.
3) Ventrogluteal or dorsogluteal (but typically clinician-guided)
- Typical area: buttock muscle regions
- Why it’s used: good muscle mass for IM injections when landmarks are correct
- Constraint: landmarking technique is critical—home use is best only if you were specifically taught the correct landmark method.
Key point: If your prescription says IM, using subQ sites (like pinching the abdomen) is not the intended route. Conversely, if your prescription says subQ, using IM sites can increase local trauma and soreness.
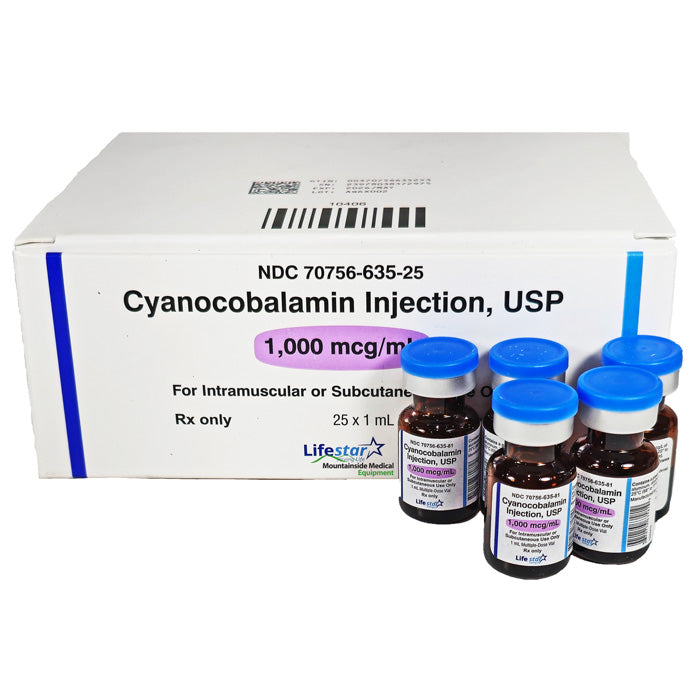
Using the Right Medication Form (Example: Cyanocobalamin Injection)
Here’s an example of a B12 injection product commonly used for dosing. Always follow your prescription label and clinician instructions for route and site.
What I focus on when coaching patients with injection products
- Route alignment: SC (subcutaneous) vs IM must match the prescription instructions.
- Needle technique: the angle and depth are route-dependent.
- Local skin handling: consistent skin prep and gentle handling reduce irritation.
Step-by-Step Injection Site Safety Checklist (Route-Specific)
Before you inject, use this quick checklist to keep technique consistent.
| Route | Primary injection target | Where to inject | What to avoid |
|---|---|---|---|
| SubQ (subcutaneous) | Subcutaneous fat under skin | Lower abdomen, outer thigh, upper outer arm (if self-injectable) | Hard/bruised/scarred areas; red/warm/infected skin |
| IM (intramuscular) | Muscle tissue | Outer thigh (vastus lateralis), deltoid (upper arm), buttock sites only if landmarking is taught | Near bony areas or poorly identified landmarks; injecting into irritated tissue |
Common Mistakes I’ve Seen (and How to Prevent Them)
- Using the wrong route’s site: SubQ requires subcutaneous fat; IM requires muscle. This is the most common technique mismatch.
- Skipping site rotation: repeated injections in the same exact spot can increase soreness and lumpiness.
- Inconsistent skin prep: it’s not just hygiene—patients feel more confident when they follow the same prep routine every time.
- Hesitating to ask for demonstration: if a route is new to you, a clinician or trained nurse visit for technique coaching can save weeks of trial-and-error discomfort.
FAQ
Are subQ B12 injections the same as IM B12 injections?
No. The medication may be the same form of B12, but subQ (subcutaneous) targets fat under the skin, while IM (intramuscular) targets muscle. They also use different injection sites and technique.
Where should I inject B12 if my prescription says subq b12 injection?
Plan for subcutaneous sites: commonly the lower abdomen (away from the navel), outer thigh, or upper outer arm if you can inject comfortably and correctly. Rotate sites to reduce local irritation.
What’s the best place to inject if I’m new to injections?
From my experience coaching first-time patients, the lower abdomen or outer thigh tends to be easiest to access with consistent technique for subQ dosing. If you’re doing IM, the outer thigh (vastus lateralis) is often the most straightforward. The “best” site is the one you can inject accurately and comfortably using your taught method.
Conclusion: Your Next Practical Step
The quickest way to make home B12 injections feel safer and more predictable is to match route to injection site: subQ goes into subcutaneous fat (often abdomen/outer thigh/upper arm), while IM goes into muscle (often outer thigh or deltoid). If you remember one thing, remember that the route determines the site.
Next step: Take a photo or write down your exact prescription wording for the route (SC/subQ vs IM), then choose a single route-appropriate injection region and rotation plan for the next 2–4 weeks so your technique stays consistent.
Discussion