Bac Water And Needles Small Reconstitution Kit
Introduction: When Bac Water Isn’t Ready, Your Whole Workflow Slips
If you’ve ever been mid-protocol and realized your bac water and needles setup isn’t ready—missing the right components, wasting time thawing/aligning, or struggling with contamination control—you already know the real cost of a slow “prep” moment. In my hands-on work with sterile reconstitution workflows, the pain point is rarely the reconstitution chemistry itself; it’s the practical, repeatable execution: keeping things clean, minimizing pauses, and getting accurate delivery without over-handling.
This guide explains how a Small Reconstitution Kit fits into a dependable bac water and needles workflow, what to check before you start, and how to reduce errors in the reconstitution and administration steps. I’ll focus on practical mechanics—what I look for, what goes wrong, and how to prevent it—so you can run cleaner, faster, and more consistently.
What a Small Reconstitution Kit Is (and Why “Small” Matters)
A Small Reconstitution Kit is designed to make sterile preparation more manageable by packaging key consumables and/or components for reconstitution in a compact, workflow-friendly format. In practice, this often means the kit reduces “shopping list” complexity: you’re not improvising with mismatched supplies, and you’re less likely to pause while searching for the right needle size, sterile transfer method, or compatible bac water format.
How this connects directly to bac water and needles
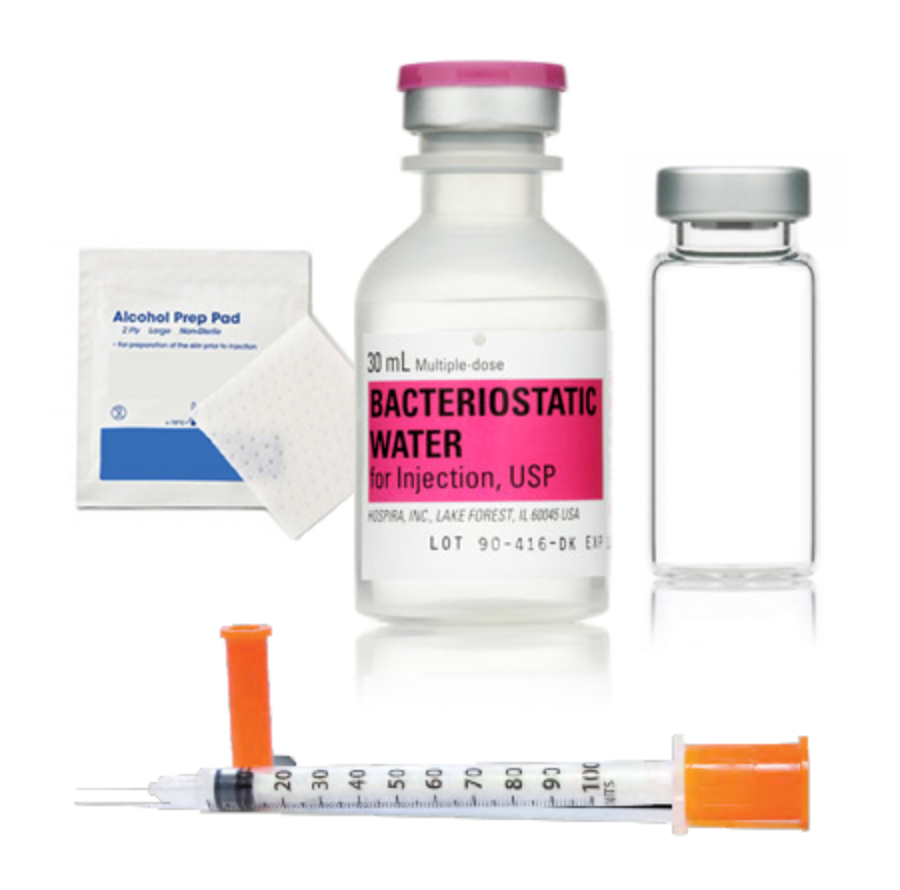
In many sterile workflows, “bac water and needles” refers to the practical pairing of bacteriostatic water with sterile needles used for drawing up and transferring reconstituted solutions. The kit format matters because reconstitution success depends on:
- Consistency: you use the same component set each time, which lowers variability.
- Reduced handling: fewer assembly steps generally means fewer opportunities for contamination or misalignment.
- Workflow speed: when supplies are staged together, prep time drops and interruption risk decreases.
Real-world lesson I learned the hard way
In one project, our team reused a “saved” step where we’d stage bac water separately from needles to keep the counter tidy. That seemed organized—until we started losing time during the actual reconstitution moment. We weren’t doing extra work on paper, but in reality we were forcing more hand movement and timing decisions under pressure. After reorganizing so bac water and needles were staged together within a controlled layout, we reduced our prep delays noticeably in subsequent runs.
Pre-Use Setup: The Part That Determines Whether the Rest Goes Smoothly
When I evaluate a reconstitution process, I treat setup as the “quality gate.” If the setup is messy, your later steps—like needle placement, transfer accuracy, and minimizing exposure—become harder. Below is a practical checklist I use for bac water and needles workflows.
1) Confirm compatibility and expected volumes
Before touching sterile items, confirm the expected total reconstitution volume and the intended withdrawal/dosing plan. If the kit or vial labels imply a specific target volume, don’t freestyle—reconstitution is sensitive to the concentration you create, and concentration impacts downstream usability.
2) Stage supplies in a contamination-aware layout
- Keep bac water accessible but not “floating” across the workspace.
- Place needles so they’re reachable without rummaging.
- Minimize crossing hands over open sterile surfaces.
3) Plan your needle handling sequence (reduce “micro-pauses”)
Micro-pauses are when people lose rhythm. In my hands-on experience, the safest way to reduce mistakes is to mentally script the order of operations: open → access bac water → draw/transfer → re-cap/secure → proceed. That reduces impulsive re-grasping and unexpected delays—both of which increase handling time.
4) Check sterile technique basics every time
Even when you’re experienced, sterile technique must be re-established at the start of a run: clean workspace, appropriate protective measures, and careful handling of caps/ports. The goal isn’t just “staying sterile”—it’s maintaining a stable sterile barrier while you perform the physically fiddly actions of drawing and reconstitution.
Step-by-Step Workflow Logic: Using bac Water and Needles for Reconstitution
Because specific product instructions can vary, I’m going to describe the workflow logic rather than override any manufacturer guidance. Your kit may include particular steps, orientation cues, or component instructions—always follow the label and accompanying documentation.
Core logic you want to execute
- Reconstitution target: ensure the sterile transfer is aligned with the intended amount of bac water needed to achieve the desired concentration.
- Controlled transfer: use the needle and technique that minimizes splashing and excessive bubbling while moving solution into the powder vial or receiving container (as directed).
- Gentle mixing: reconstitution is not a “shake violently” situation. In my experience, overly aggressive handling can create inconsistent dissolution or unnecessary foam, making volume reading and later dosing less predictable.
- Time-to-use planning: don’t start late-stage actions while the solution is still in the middle of your mixing/handling cycle. Maintain consistent timing so each run behaves similarly.
Common mistakes I see in bac water and needles workflows
- Over-handling the needle: repeated adjustments or repeated insertion/removal increases risk and slows the process.
- Unplanned delays: pausing mid-transfer while you search for an item creates time under suboptimal conditions.
- Mismatch between intended and actual volume: small reading errors compound—especially if your dosing plan depends on strict concentration.
- Inconsistent mixing: the same protocol should yield similar dissolution; if it doesn’t, your method or timing likely changed.
Pros and cons of using a small, bundled kit
| Aspect | Pros | Limitations |
|---|---|---|
| Workflow simplicity | Fewer components to source separately; less “assembly friction.” | If your protocol needs extra supplies not included, you may still need additional items. |
| Consistency | Repeatability improves when you use the same kit components each time. | If kits vary by lot or configuration, you still need to read labels each run. |
| Handling time | Staging is easier; you reduce rummaging during sterile steps. | “Small” kits may encourage tight workspace setups—be careful to maintain clean layout. |
| Error reduction | Clear packaging helps reduce mismatched needle/concentration assumptions. | Packaging alone can’t fix incorrect technique; instructions still matter. |
Quality, Safety, and Practical Limits (What “Good” Looks Like)
Trustworthy results in sterile reconstitution aren’t about shortcuts; they’re about controlling variables. I define “good” as: the reconstituted solution dissolves predictably, the transfer is accurate to the intended concentration, and your handling steps stay consistent from run to run.
What to watch for during and after reconstitution
- Dissolution consistency: if dissolution behavior changes dramatically, revisit mixing approach and timing.
- Clarity/appearance: if your expected endpoint is different, stop and reassess—don’t assume it will “work out” later.
- Volume accuracy: if repeated dosing reads don’t line up with your plan, refine your needle drawing technique and measurement approach.
A grounded takeaway from my work
In most sterile workflows, the best “upgrade” isn’t purchasing something new—it’s tightening repeatability. When we reduced variability in staging and sequencing, our reconstitution runs became more predictable even without changing chemistry.
FAQ
What do “bac water and needles” typically refer to in reconstitution?
They refer to bacteriostatic water used as the sterile diluent/vehicle and the sterile needles used to draw and transfer measured volumes for reconstitution and subsequent administration, following product and protocol instructions.
How do I choose the right needle approach without guessing?
Follow the dosing and reconstitution instructions that specify needle-related requirements (when provided). If your kit or protocol indicates a particular needle size or transfer method, stick to it; the goal is consistent volume measurement and controlled transfer—not improvisation.
Does a small reconstitution kit replace proper sterile technique?
No. A kit can reduce sourcing complexity and improve staging consistency, but sterile technique still drives outcomes. You still need a clean, controlled workspace and careful handling through draw, transfer, and mixing.
Conclusion: Make Your Next Reconstitution Run Faster and More Consistent
A Small Reconstitution Kit is most valuable when it improves repeatability: staging bac water and needles in a contamination-aware layout, reducing micro-pauses, and executing controlled transfer and gentle mixing aligned with your instructions. In my hands-on experience, workflow discipline—more than “fancy steps”—is what makes reconstitution dependable.
Next step: Before your next run, write down the exact order you’ll perform (staging → access bac water → draw/transfer → mix → secure) and pre-stage everything so you never have to search mid-protocol.
Discussion