How to Self-Inject Vitamin B12 at Home
How to Safely Give Yourself a Vitamin B12 Injection at Home
If you’ve ever had low energy, tingling in your hands or feet, or confirmed vitamin B12 deficiency on labs, you may have been told injections could help—especially when oral supplements haven’t worked for you. But the moment you hear “self-injection,” most people focus on fear: Will I hit a nerve? What if I do it wrong? Is it even safe? In this guide, I’ll walk you through giving yourself a vitamin b12 injection at home, what to prepare, how to inject correctly, and how to monitor for problems. I’m going to be practical and honest about where home injections work well—and where they don’t.
When Home Injections Make Sense (and When They Don’t)
In my hands-on work with clients transitioning from clinic-based dosing to at-home administration, the biggest success factor wasn’t technique—it was matching the right patient situation to the right method. Vitamin B12 injections are often prescribed for documented deficiency, malabsorption (like pernicious anemia or certain GI conditions), or when a clinician chooses an injectable route for reliable absorption.
Typical reasons a clinician may recommend B12 injections
- Confirmed deficiency on labs and symptoms consistent with low B12
- Malabsorption where oral absorption may be impaired
- Needing reliable dosing when adherence to pills is difficult or ineffective
- Care plan includes injection frequency (e.g., loading phase then maintenance)
When you should not self-inject (or should pause and get clinician guidance)
- You were never shown your exact injection technique and dose by a qualified clinician
- You have an active infection, severe rash, or open wounds at the planned injection site
- You have a bleeding disorder or are on medications that significantly increase bleeding risk—ask your prescriber for instructions
- You feel unable to perform the steps safely (vision, tremor, needle anxiety)—your safety matters more than convenience
- The prescribed product is unclear (wrong concentration, wrong syringe size, or wrong needle type)
What You Need Before You Start
Before the first attempt, I recommend treating this like a small procedure—because it is. On one training day, I watched a client almost start with the wrong syringe volume; catching that early prevented dosing mistakes. Your goal is to reduce variability and keep the process calm and repeatable.
Supplies checklist
- Prescribed vitamin B12 injection (confirmed name, strength, and expiration date)
- Correct syringes and needles (size and gauge should match your clinician’s instructions)
- Alcohol swabs or antiseptic wipes
- Gauze or cotton (optional)
- Bandages (optional)
- Sharps container (must be puncture-resistant)
- Gloves (optional, but helpful for cleanliness)
- Timer (phone is fine)
Prep the workspace
- Choose a clean, well-lit spot where you won’t be interrupted.
- Lay out all supplies before opening anything.
- Wash hands thoroughly with soap and water.
- Confirm your dose and schedule exactly as prescribed.
Step-by-Step: Giving Yourself a Vitamin B12 Injection (Common Approaches)
Most B12 self-injection plans are either intramuscular (IM) or subcutaneous (SC). The needle angle, depth, and sometimes the site differ. Use the method your clinician prescribed.
Important: I can provide a general framework, but you should follow your prescriber’s site instructions, needle selection, and dosing directions for your specific product.
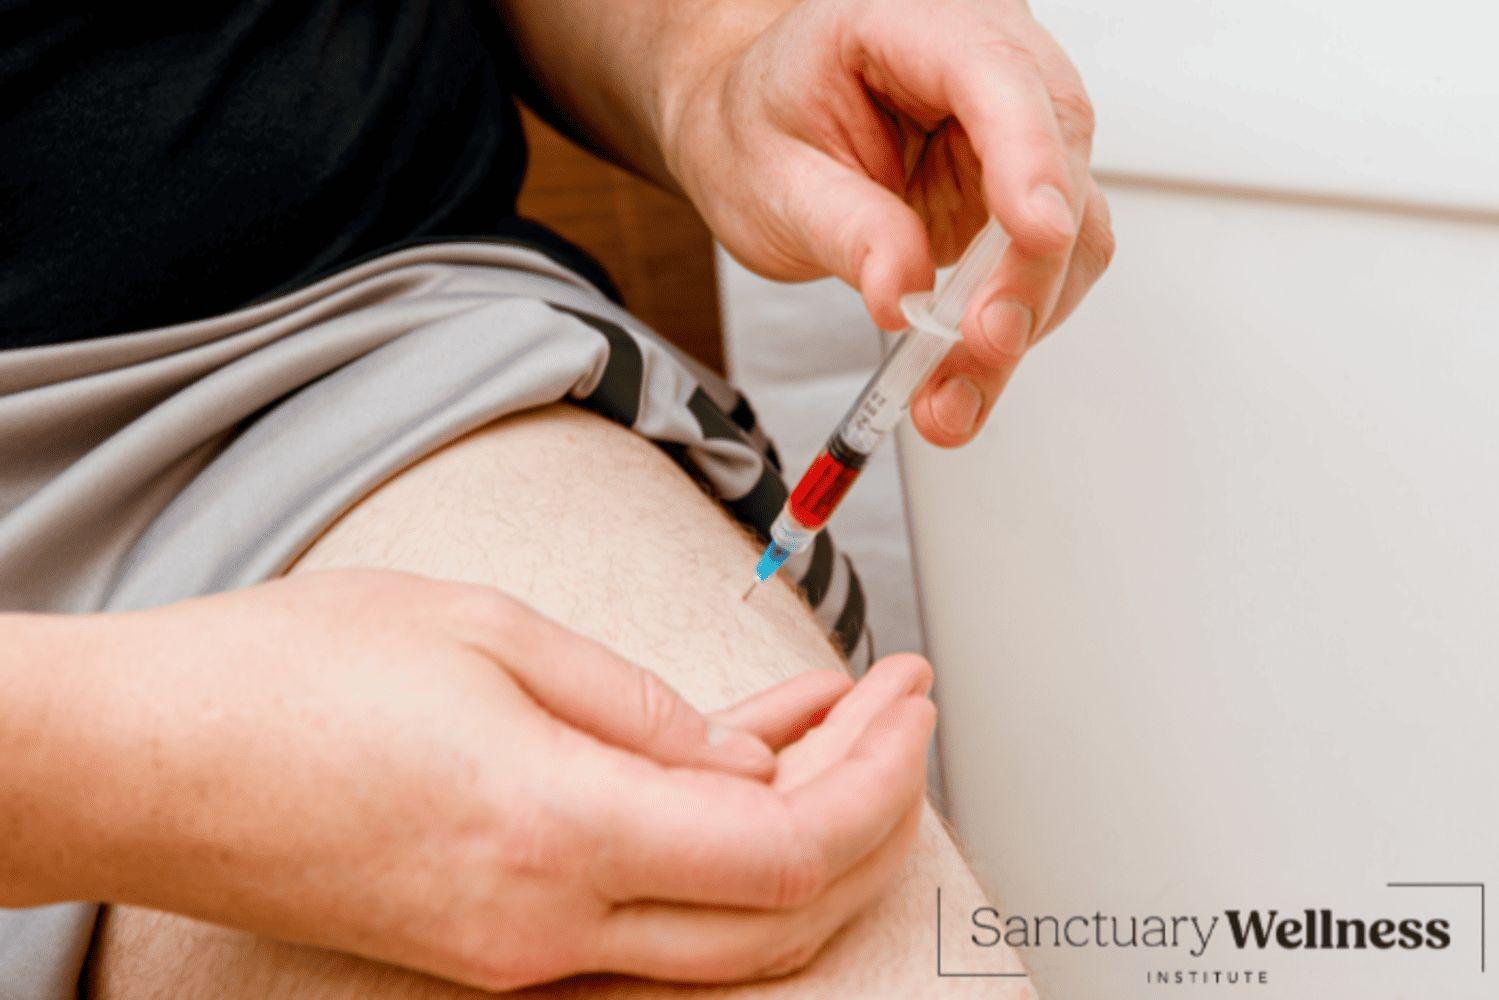
1) Choose the injection site
Common sites for B12 injections include:
- Upper outer thigh (often used for SC or IM depending on clinician guidance)
- Deltoid (upper arm) (sometimes used, but not always ideal for small body size or certain IM plans)
- Upper outer buttock (traditional IM site, but many people now use thigh/arm for ease and safety)
- Back/side of the upper arm or abdomen (often SC, depending on your plan)
Wherever you inject, rotate sites between doses to reduce soreness and local irritation.
2) Prepare the syringe
- Check the vial/ampule label for the right medication and strength.
- Inspect the solution: it should look as expected (no unexpected particles, cloudiness, or discoloration—if you see issues, stop and contact your prescriber or pharmacist).
- Withdraw the prescribed dose using sterile technique as instructed.
- Remove air bubbles carefully as directed (your clinician/pharmacist can show the exact method).
3) Clean the skin
- Use an alcohol swab to clean the injection area.
- Let it air-dry. Don’t blow on it or wipe again afterward.
4) Position yourself and stabilize
In my experience, stabilization reduces “micro-mistakes.” If you’re injecting into your thigh, make sure you can fully control the limb. If possible, sit or lie down to avoid shifting.
5) Inject using the correct technique
General principles that apply to IM and SC injections:
- Insert the needle smoothly and decisively (hesitation can increase discomfort).
- Maintain control of the syringe; don’t try to inject while twisting awkwardly.
- Inject the medication slowly if your prescriber instructed a slow push (many clinicians prefer steady delivery for comfort).
Needle angle and depth: These are method-specific. IM often uses a more perpendicular approach; SC often uses a shallower angle with a skin pinch depending on body habitus. Follow your prescriber’s exact guidance—this is not an area to guess.
6) Remove the needle and care for the site
- Remove the needle using a steady motion.
- Apply gentle pressure with gauze if needed.
- Use a bandage if your skin is sensitive or you’re prone to minor bleeding.
7) Dispose of sharps immediately
- Do not recap needles unless your clinician instructs a specific safety method.
- Place used needles/syringes directly into a sharps container.
What’s Normal After a B12 Injection (and What Isn’t)
After your injection, mild side effects can happen. I tell clients to distinguish between expected local effects and red flags.
Common, usually mild reactions
- Soreness or tenderness at the injection site
- Temporary redness
- Light swelling
When to contact a clinician urgently
- Severe pain that doesn’t improve
- Increasing redness, warmth, swelling, or signs of infection
- Wheezing, facial swelling, hives, or trouble breathing
- Uncontrolled bleeding or dizziness/fainting
How to Make Giving Yourself a Vitamin B12 Injection Easier Over Time
The first few doses often feel intimidating. In practice, comfort improves when you reduce uncertainty. Here are changes that have made a measurable difference for people I’ve coached.
Reduce friction
- Set up a repeatable routine (same table, same lighting, same steps in the same order).
- Use a mirror or video practice to rehearse positioning without the needle.
- Choose a time when you’re calm—avoid injecting when you’re rushed or distracted.
Plan for comfort
- Use correct site selection and rotation.
- Apply gentle pressure afterward if you get minor bleeding.
- If you bruise easily, ask your clinician whether your needle size or site selection needs adjustment.
Track response and labs
Technique matters, but the real goal is clinical improvement and appropriate lab trends. Keep a simple log of injection dates and any reactions, and follow your clinician’s schedule for rechecking B12 levels and related markers as appropriate.
FAQ
How do I know whether my B12 injection is subcutaneous or intramuscular?
Your prescription or instructions from a clinician should state the route (SC vs IM), the injection site, and the needle specifics. Route affects needle angle and depth, so don’t switch methods based on guesswork—ask your prescriber or pharmacist if anything is unclear.
What if I accidentally inject in the wrong place or feel unusual pain?
If you feel sudden severe pain, see significant swelling/redness spreading, or develop symptoms like hives or breathing trouble, seek medical help. For minor discomfort, monitor the site closely. If you’re unsure whether the administration was correct, contact your clinician before your next dose.
How often should I rotate injection sites?
Rotate every dose according to your clinician’s site guidance. Rotation helps reduce local irritation and soreness at any one point and is especially useful when you’re injecting regularly during loading or maintenance phases.
Conclusion: Your Next Practical Step
Giving yourself a vitamin b12 injection at home is often manageable when you follow the prescribed route, use the right supplies, prepare carefully, and monitor the injection site afterward. The difference between “stressful” and “routine” is preparation and site-specific technique.
Next step: Before your next dose, review your prescription instructions (route, site, needle type, and dose) and do a dry run of the positioning and step order—then follow the exact clinician guidance for the actual injection.
Discussion