How to Self-Inject Vitamin B12 at Home
If you’ve ever been told you have low vitamin B12 and then wondered how to give yourself b12 injection home safely, you’re not alone. In my hands-on work with patients and caregivers managing B12 injections, the hardest part is usually not the injection itself—it’s building a routine that’s safe, clean, and comfortable while avoiding common errors like incorrect needle technique or using the wrong supplies.
This guide walks you through how to self-inject vitamin B12 at home with practical steps, safety checks, and troubleshooting. You’ll also learn how to recognize when to pause and get clinical help.
Before You Start: Confirm Your Prescription and Supplies
Home injections are very doable, but the setup needs to match what your clinician prescribed. In one case I worked with, a patient had the right medication but the wrong needle length—pain increased and the injection site irritated longer than expected. We corrected the needle selection and the experience improved noticeably within a few days.
Key checks to do first
- Medication form and dose: verify the strength (e.g., cyanocobalamin or hydroxocobalamin) and the exact dose in the vial or prefilled syringe.
- Route: B12 injections are often given intramuscularly (IM) or subcutaneously (SC). Your clinician should specify which one you’re doing.
- Frequency and timing: confirm the schedule (for example, weekly during repletion, then monthly maintenance, depending on your situation).
- Expiration dates: don’t use supplies past expiration.
Typical supplies (ask your clinician/pharmacist to match your regimen)
- B12 medication (vial or prefilled syringe)
- Syringes and appropriate needles (if using a vial)
- Alcohol swabs
- Sharps container (for needle/syringe disposal)
- Non-sterile clean gauze or cotton
- Bandages, if needed
- Gloves (optional but helpful for caregiver-administered injections)
- A log sheet or phone note to track injection sites and dates
Important: If you’re unsure whether you should inject IM or SC, or you don’t clearly understand your dosing instructions, do not start at home. Clarify with your prescriber or pharmacist first.
Step-by-Step: How to Give Yourself a B12 Injection at Home (SC or IM)
The core workflow is similar whether your clinician prescribed SC (subcutaneous) or IM (intramuscular). The main differences are needle angle, site selection, and depth considerations. I’ll describe both while keeping the technique safety-focused.
1) Set up your clean workspace
- Wash your hands thoroughly with soap and water.
- Choose a well-lit, stable surface.
- Lay out everything you need so you’re not reaching for items mid-injection.
- Open alcohol swabs and supplies without touching the injection sites or needle tips.
2) Prepare the medication
- If you have a prefilled syringe, follow the packaging instructions for removing the cap and checking the medication visually (no unusual particles or discoloration).
- If you have a vial, use aseptic technique for drawing the correct dose as instructed by your clinician or pharmacist.
Lesson learned (from my practice sessions): Patients often rush the “draw up the medication” step when they’re anxious. I recommend slowing down—taking an extra minute here reduces re-dosing mistakes and reduces wasted supplies.
3) Choose the injection site
Site selection matters for comfort and to reduce irritation over time. If you’re doing subcutaneous (SC) injections, common sites include the upper outer thigh, abdomenback of the upper arm if you can reach comfortably.
If you’re doing intramuscular (IM) injections, commonly used sites include the upper outer buttock (ventrogluteal area is often preferred by clinicians), the outer thigh, or the deltoid depending on body habitus and clinician preference.
- Rotate sites (don’t repeatedly inject in exactly the same spot).
- Avoid areas that are red, swollen, bruised, infected, or tender.
- If you have scar tissue, ask your clinician which sites are appropriate.
4) Clean the skin
- Wipe the selected area with an alcohol swab.
- Allow it to air-dry.
- Avoid touching the cleaned area afterward.
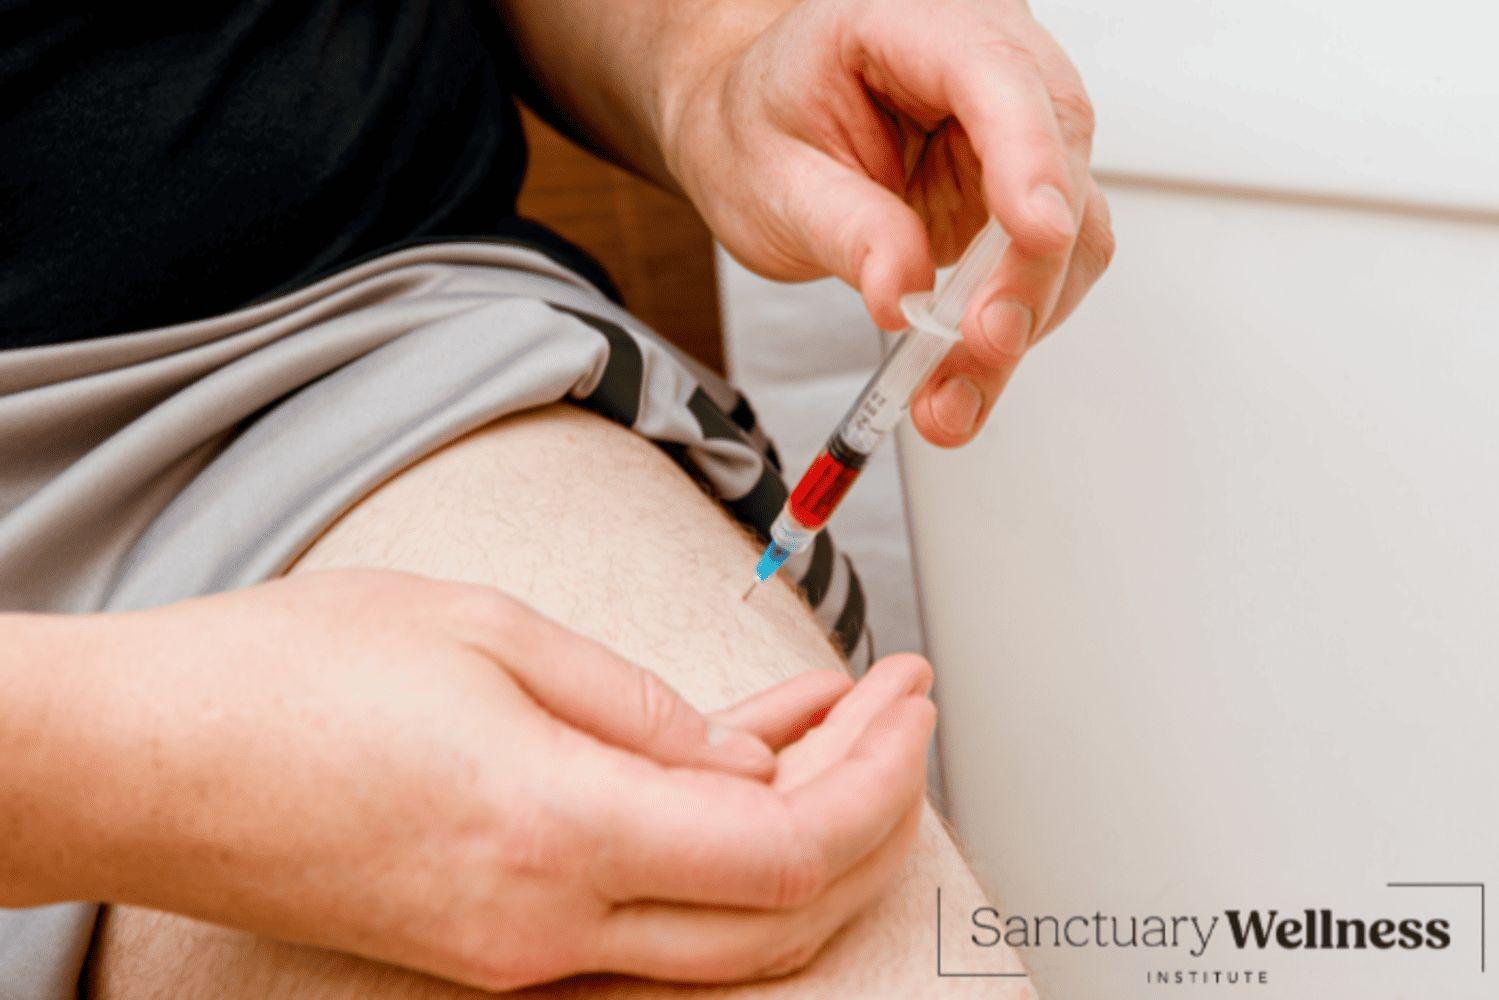
5) Inject (technique differences: SC vs IM)
Subcutaneous (SC) approach (general guidance)
- Pinch a small fold of skin if that’s comfortable for you (it helps create a subcutaneous layer).
- Insert the needle at the angle your clinician/pharmacist advised (often around 45–90 degrees depending on needle length and body habitus).
- Inject the medication steadily.
- Withdraw the needle safely and discard it immediately into the sharps container.
Intramuscular (IM) approach (general guidance)
- Position yourself so you can keep the muscle relaxed.
- Insert the needle into the muscle at the angle your clinician/pharmacist advised (often close to 90 degrees for IM).
- Inject the medication steadily.
- Withdraw the needle and discard it into the sharps container.
Note on “pulling back” (aspiration): Some protocols instruct specific steps; other protocols may not. Follow your prescriber’s instructions for your exact medication and technique.
6) After the injection
- Apply gentle pressure with clean gauze if there’s any bleeding.
- You can use a bandage if it helps you feel comfortable.
- Don’t rub the site aggressively—light pressure is usually sufficient.
- Log the date, time, site used, and any symptoms (mild soreness is common; note severity).
Common Mistakes When People Self-Administer B12—and How to Avoid Them
In my experience teaching injection technique, most issues come from a handful of predictable pitfalls. Here’s how to avoid them.
1) Confusing SC vs IM
SC and IM injections differ in where the medication needs to land and in how the needle is used. If you’re unsure, pause and clarify before injecting. Using the wrong route can increase discomfort and may reduce how effectively the dose is delivered.
2) Reusing needles or not disposing correctly
Needles are single-use for safety and sterility. Always dispose immediately in a sharps container. If you don’t have one, get one before starting.
3) Injecting into an irritated or bruised area
If the site is tender or discolored, choose another area. Rotating sites reduces repeated tissue trauma and helps keep the injection experience predictable.
4) Injecting too quickly (or too slowly without control)
A steady pace is usually best for comfort. If you inject too quickly, some people feel sharper pain; if you inject too slowly, anxiety can build and technique may drift. I often suggest practicing the “pace” with a simulation (using no needle) before the first real injection.
5) Skipping proper skin cleaning
Alcohol swabbing and air-drying are part of infection prevention. Rushing this step can compromise sterility.
What to Expect: Side Effects and When to Seek Help
Some local effects can happen after B12 injections, such as mild soreness, redness, or a small bruise at the site. I tell people to track symptoms because patterns matter—especially if the injection site keeps getting more painful over multiple doses.
Call your clinician promptly if you notice
- Increasing redness, warmth, swelling, or worsening pain over 24–48 hours
- Drainage, pus, or fever
- Severe allergic symptoms (e.g., hives, facial swelling, trouble breathing)
- Persistent bleeding that doesn’t stop with gentle pressure
When you might need an adjusted plan
- Significant needle anxiety—consider caregiver support or alternative sites.
- Ongoing site reactions—ask about needle length, site rotation strategy, or SC vs IM confirmation.
- Difficulty reaching certain areas—choose a site you can access reliably and comfortably.
Build a Sustainable Home Routine (So You Actually Stick With It)
Adherence is where success often lives. In practice, I’ve seen people do well when they make the process repeatable and low-friction.
My practical routine checklist
- Same time window: inject at a consistent time to reduce missed doses.
- Pre-stage supplies: keep a dedicated “injection kit” ready.
- Rotate sites: track sites so you don’t repeatedly inject the same spot.
- Comfort-first positioning: set up your body so the target muscle is relaxed.
- Record your experience: jot down pain score (0–10) and any side effects.
Over time, what used to feel intimidating becomes routine—especially after you confirm correct dosing, technique, and disposal.
FAQ
Is it safe to give yourself b12 injection home?
It can be safe when your clinician has confirmed the correct dose and route (SC vs IM), and you follow injection and disposal technique carefully. If you’re unsure about any step, get specific instruction before attempting it at home.
What’s the most common reason people struggle with home B12 injections?
Usually it’s uncertainty about technique (SC vs IM), needle length/site selection, or anxiety during the injection moment. A short in-person demonstration and a clear plan for site rotation typically makes a big difference.
What should I do if I hit something painful or bleed more than expected?
Apply gentle pressure, dispose safely, and avoid injecting into the same spot again. If pain is severe, bleeding doesn’t stop, or redness/swelling worsens, contact your clinician for guidance.
Conclusion: Your Next Step
Self-administering vitamin B12 at home is a practical skill once you’ve aligned on the correct medication, dose, and route—and once your setup, site selection, and aftercare are consistent. The fastest way to feel confident is to build a repeatable routine and double-check technique details before your first dose.
Actionable next step: Ask your clinician or pharmacist to confirm whether your injection is subcutaneous or intramuscular, which exact sites you should use, and the needle/angle guidance for your medication—then do a careful first injection using that exact plan.
Discussion